
SwiftNet WiFi setup is straightforward only if you test it in the right place. Do not rely on a single speed test or a single optimistic signal bar from an untested corner of your vehicle.
We may earn a commission when you buy through our links. See our Affiliate Disclosure.

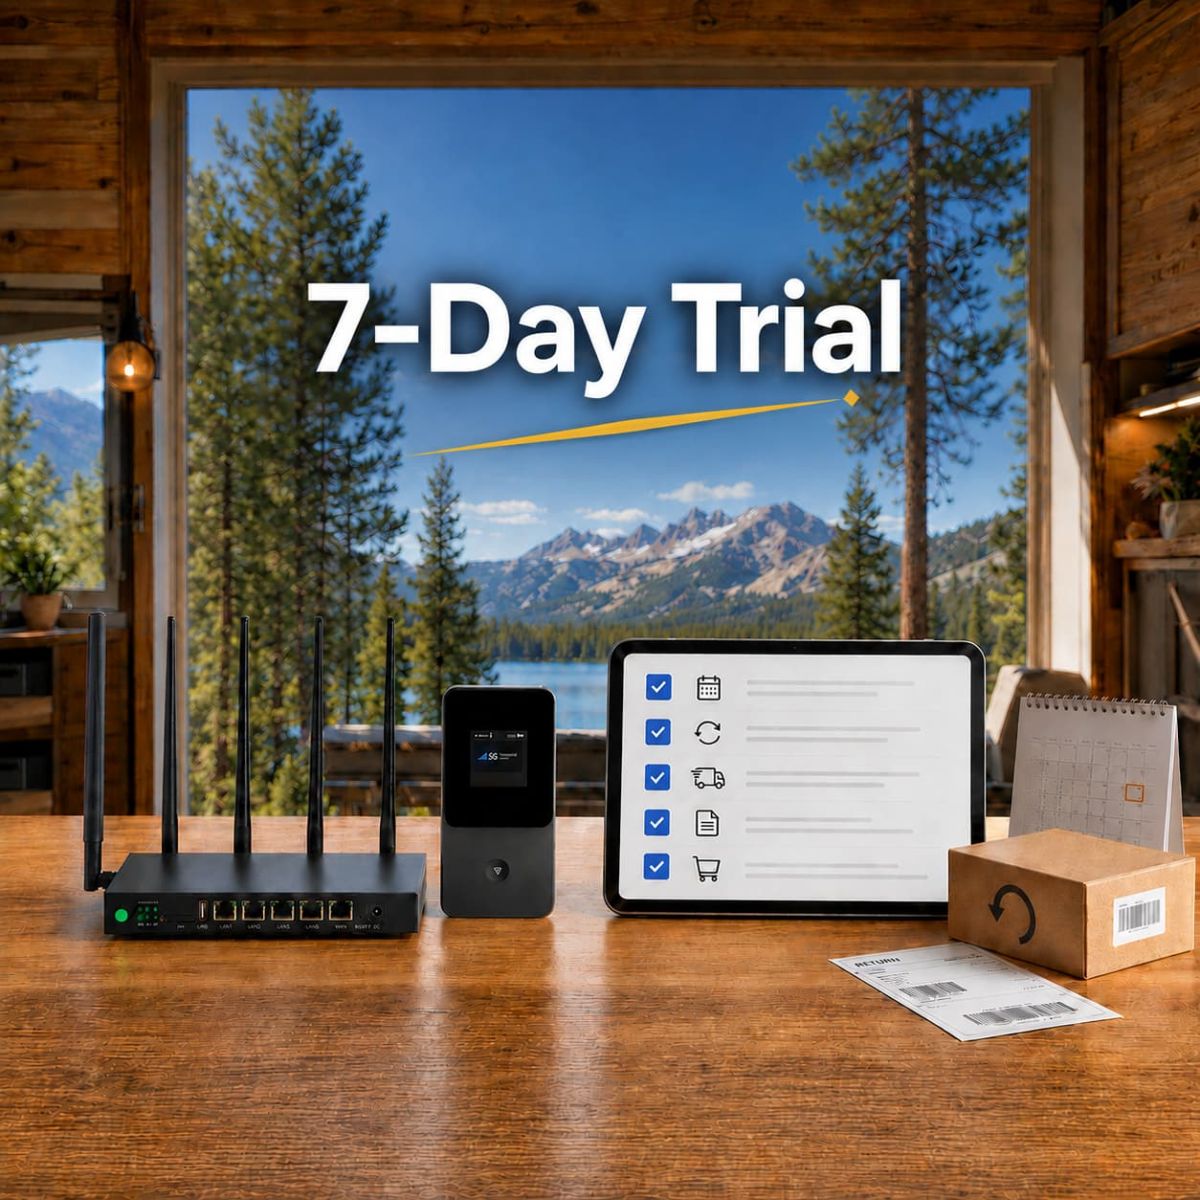
Set it up where the signal works, not where the desk looks neat.
If you need daily RV work, rural home internet, video calls, uploads or several devices, start with the 5G Diamond path. If you need a cheaper dedicated backup for travel, camping, maps and email, 4G Bronze is easier to justify. Waveform belongs only after you prove usable cellular signal exists.
Best as a setup-and-test checklist before you keep the plan.
Do not decide from the first signal bar. Place the device, test the workload, check the trial clock, then decide.
Check these before you plug anything in.
Most poor setup decisions happen before the device is powered on. Confirm the location, device path, discount line and return clock first. It is less exciting than unboxing, but it prevents early performance issues.

 Need the return-window details? Read the SwiftNet WiFi Trial & Refund Policy guide before the testing period ends.
Where to place SwiftNet WiFi in an RV.
Start high, open and close to the best signal path. In RVs, metal, cabinets, appliances, tinted windows and tight layouts can degrade cellular performance in a hidden spot.

Try these first
- ✅ Raised shelf or table, not the floor.
- ✅ Near a window or more open RV side.
- ✅ Close enough to the laptop/TV area to test real use.
- ✅ Cool, ventilated space with clean cable routing.
Avoid these spots
- ✕ Inside cabinets or storage bins.
- ✕ Next to microwave, TV cabinet, inverter or appliances.
- ✕ Low under a dinette bench or bed.
- ✕ Direct sun or hot enclosed compartments.
Set it up in six systematic phases.
Isolate your variables during setup. Change one factor at a time—move the device, test, rotate it, test again, and then add more devices to ensure accurate troubleshooting.
Unbox and confirm the setup path
Check the device, charger, cables, antennas if included, and whether you are working with the router-style 5G Diamond path or the hotspot-style 4G Bronze path.
Place the device before judging speed
Start in a raised, open place near likely signal. Ensure the device is positioned properly before evaluating network quality.
Power on and wait
Give the router or hotspot time to boot and settle. A rushed first test can make a usable setup look worse than it is.
Connect one device first
Use one phone or laptop before adding TVs, tablets and every gadget in the RV. You want to separate coverage problems from device-load problems.
Run real workload tests
Test the actual tasks: video calls, upload, streaming, maps, email, VPN or remote desktop, and multiple devices during the hours you use internet.
Decide: main internet or backup
If it handles the real workload, keep it as the main setup. If it only handles light tasks, treat it as backup or compare another path.
5G Diamond and 4G Bronze require different setup approaches.
The 5G Diamond path belongs in the heavier RV/rural work lane. 4G Bronze belongs in the lighter travel and backup lane. Choosing the cheaper option is only practical if your data demands remain minimal.

 Need the deeper plan split? Read SwiftNet 5G Diamond vs 4G Bronze.
Use the trial window like an active evaluation period.
The critical question is whether the network handles your full daily tasks. Test the connection early during your standard workflow hours, rather than waiting until the end of the return window.

Five placement errors that hurt hardware performance.
Most SwiftNet setup issues stem from straightforward problems: physical placement, signal obstructions, data overload, or overlooked plan terms during checkout.

Testing only one spot
Move the device and retest before deciding the plan is bad.
Trusting one speed test
Speed matters, but calls, upload, latency and device load matter more for real work.
Hiding the router
Cabinets, metal and appliances can turn a tidy setup into a weak one.
Buying an antenna too early
Use Waveform only after you confirm there is weak but usable cellular signal.
Ignoring recurring cost
First checkout is only one piece. Device terms and recurring subtotal still matter.
First-pass verification checklist.
Before assuming hardware or plan failure, use this systematic checklist to ensure you are isolating the correct network variable.
Setup still cannot beat physics.
SwiftNet requires an active cellular connection.
Proper placement optimizes an existing signal; it cannot generate a connection in an absolute cellular dead zone.
Vehicle construction limits signal penetration.
Aluminum framing, dense cabinets, and appliance shielding make device positioning less forgiving than in residential homes.
4G Bronze has physical bandwidth limits.
While cost-effective, it is not engineered to support high-demand multi-device remote work or heavy video ingestion.
Upfront pricing excludes monthly upkeep.
Verify the applied ORION04 promotional row, specific hardware financing terms, recurring plan cost, and regional sales taxes.
SwiftNet WiFi setup FAQ
Evaluate performance systematically.
SwiftNet WiFi provides stable connectivity for mobile travel if you optimize physical placement, evaluate it under a standard daily workload, and monitor the specific plan terms. Choose the 5G Diamond path for multi-device environments requiring consistent high bandwidth. Opt for the 4G Bronze configuration if mobility and low subscription costs are your main priorities.
The path to optimization is simple: prioritize direct line-of-sight signal paths, test early within the trial window, and confirm billing subtotals with the ORION04 promo active.